- Solar advice hub
- Batteries
- Solar battery installation: step by step
Solar battery installation: step by step
Here's how a solar battery installation should go, from which locations are suitable to how you can control your battery.


Why you can trust our content
We know that the solar industry is full of misinformation, but we only use reliable sources, including:
- Our experienced solar experts, installers and system designers
- Our own database of solar & battery system designs
- Authoritative bodies like MCS and the UK government


At a glance
A solar battery is the best way to maximise your solar savings, making it a crucial addition to your system.
But any time you’re getting a significant piece of hardware installed at home, it’s worth knowing every step of the process, from how the installation will impact you to what new possibilities it opens up.
In this guide, we’ll explain where on your property a battery can be fitted, every part of how the installation should be carried out, and whether it’s a good idea to retrofit a battery.
If you’re wondering how much you could save with a solar & battery system, enter a few details below and we’ll generate a quick estimate.
Where should a solar battery be installed?
A solar battery should ideally be installed in a garage that adjoins your home, or on an outside wall.
Batteries in garages usually experience more consistent, controlled temperatures than those installed outside or in a loft, which helps keep them running effectively for longer.
They’ll also get less wet in a garage, and it makes battery theft – which is already extremely rare, thanks in part to how heavy batteries are – even more unlikely.
Having your battery in a garage also makes it more easily accessible, both to you and engineers. Your installer should make sure it’s mounted against a fireproof wall, and not located too close to where you park your car.
If it’d be better for you to have a solar battery installed elsewhere – for instance in your utility room, garden room, or a cupboard – this can also work, as long as it doesn’t block a potential escape route.
The only major drawback is that your installer will probably require you to get a fire alarm if the space is small or enclosed. The best solar installers will fit one themselves, if necessary.
If none of these options work for your home, you may also be able to get a battery in your loft. You’ll need to have a gable end wall that’s strong enough to hold the battery, and again, a fire alarm must be installed nearby.
The best battery location for you will ultimately depend on multiple factors that are unique to your property and preferences, which is why it’s important to choose a responsive, reputable installer.
What are the requirements for an outdoor battery installation?
Your battery and inverter can both be safely fitted outside, as long as your installer makes sure they’re protected from the elements.
Both products can be damaged by water – whether it comes from the sky, a gutter leak, or directly from your home – even if they have a high ingress protection (IP) rating.
The solution is to install a canopy above your battery and inverter, so that come rain, shine, or hail, your crucial pieces of hardware will be sheltered.
If this sounds excessive, it’s worth noting that most battery manufacturers now require customers to put some sort of protective shield over external installations – or risk voiding their warranty.
And because we want to take care of your gear, Sunsave will install your canopy for free.
A canopy will also provide some protection from direct sunlight, which can cause problems over time, though your installer should primarily tackle this issue by not placing your battery and inverter in a south-facing location.
They should also install your battery somewhere secure, away from public view, such as a side alley with a lockable door.
How is a solar battery installed?
As well as choosing a location (with your input), your installer will also mount the solar battery, connect it to the inverter, check it works, and explain how to shut it off in case of an emergency.
They should also be able to add a wooden cover and/or emergency power supply capabilities, if you decide either are necessary.
Let’s run through how all of this works, the decisions you’ll need to make, and how your installer should help you get the best outcome for your household.
1. Location selection
Your installer, who should be aware of the latest guidance from the Institution of Engineering and Technology and British Standards Institution for battery placement, will analyse your home and present you with the best options.
The ideal location for you will depend on multiple factors which are unique to your property, including whether or not you have a secure external location, a garage attached to your home, and a gable end wall in your loft.
This is why it’s crucial for your installer to carry out a technical survey of your property before going ahead with the installation, so you’ll know the battery is going in a suitable location that you’re happy with.
2. Battery mounting
In many locations, your battery will need to be mounted – either on a wall, or on a solid, flat base that ensures its stability.
Regardless of the mounting type used, your installer should leave 30cm of space on every side of the battery, and another 30cm of space around each side of the inverter.
There are a couple of different ways to mount a battery, which we’ll run through below.
Ground-mounted batteries
If your battery is being set up outside on grass or pebbles, your installer may put a slab underneath it, usually made of concrete.
This will help keep the battery stable, and stop it from toppling over. To make sure it’s completely secure, the installer should also pin it to the wall.
They’ll likely do this by fitting two screws to either side of the battery, then putting two L brackets in the wall.
Wall-mounted batteries
It may be best for your battery to be mounted on a wall, especially if there are too many obstructions to pin it at ground level.
And batteries installed in lofts will always need to be wall-mounted, as they shouldn’t sit on wooden joists. In the extremely rare case that a battery malfunctions and catches fire, it can burn through the wood and fall down to the floor below.
Your installer can wall-mount a battery by drilling L brackets made of galvanised steel into the wall, taking the feet off the battery, and placing it on the arms of the L brackets.
Screwing the feet back onto the battery secures it onto the brackets.
The installer should make sure they choose a wall that’s strong enough to hold a battery – so not a stud wall or a wall made from breeze blocks.
The L brackets should also be sturdy enough that an installer can stack additional battery modules on top in future, if you ever want to expand your storage capacity.
It’s usually best to pre-empt this need by going big from the start – check out our 5 reasons to get a larger storage battery for why that is.
3. Adding a cover (optional)
Some people choose to get a wooden enclosure that covers their battery from all sides.
This can be to provide the machine with some insulation and extra protection from water, or simply to hide it from view.
Aesthetic decisions are of course up to you, but your battery should already be hidden away to keep it safe.
If you do decide to get a cover, follow the manufacturer’s guidelines to ensure you leave enough space around it, both to help lengthen your battery’s lifespan and keep your warranty intact.
We don’t usually recommend covers or insulation around a battery, since they have a limited positive impact and need to be removed in summer to prevent overheating.
The main exception is when your battery has to be placed in a location that’s often in direct sunlight – a south-facing place, in other words. You’ll probably require a cover in this case.
You certainly shouldn’t cover your inverter, however, since it uses convection cooling, meaning it has to expel hot air to keep itself cool.
4. Connection to the inverter
It’s important to install your battery near your inverter, to minimise the amount of electricity lost as it passes between them.
The inverter is usually seen as the brains of your solar & battery system, since it monitors your panels’ production levels, optimises their performance, and converts their output into electricity that’s suitable for the grid and your home.
It’ll be connected to your battery in one of two ways, depending on whether the battery is DC-coupled – meaning its place in the circuit is between your inverter and your panels – or AC-coupled, in which case it goes between your inverter and fuse box.
If it’s DC-coupled, your installer will use one negative cable – which charges the battery with solar-generated electricity – and one positive cable.
They’ll connect the two machines with a Cat 6 ethernet cable, which allows the inverter to give the battery instructions on when to charge, store, and discharge its electricity.
And they’ll hook up an earth terminal between the two, to connect all the metal parts together and ensure that if anything goes wrong, the excess electricity has somewhere safe to go.
The process is similar with an AC-coupled battery, except your installer will wire the battery directly into your fuse box.
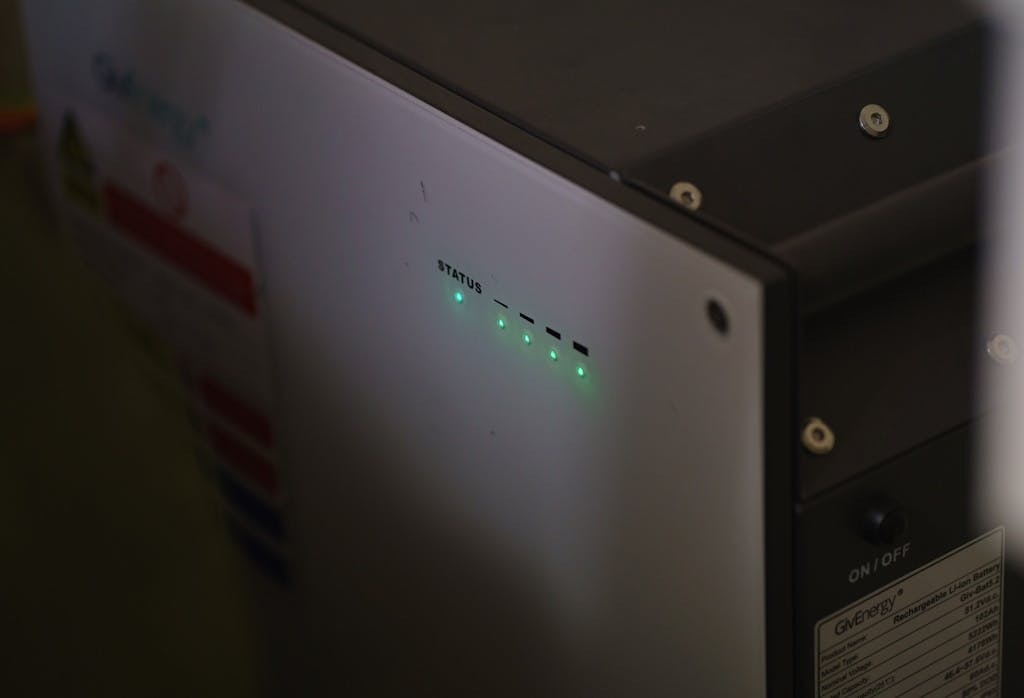
5. Battery commissioning
Battery commissioning is the process of making sure the battery works, can connect to the internet, and can be controlled by the customer via a solar app made by the inverter’s manufacturer. All modern inverters should have an accompanying app.
Your installer will use a phone or laptop to access the inverter’s internet dongle, and connect it to the household’s wifi network.
They’ll then enter all the system’s information into the inverter company’s cloud platform, including the peak power rating of the solar panels, inverter, and battery.
You can then access this information at any time, along with data showing how much electricity your system generates, stores, and exports.
If you’ve decided to get Sunsave Plus, once these details are uploaded, we’ll provide 24/7 monitoring and maintenance of your system.
This service is part of the Sunsave Guarantee, which also includes a free, out-of-warranty replacement battery and inverter once it's required, and downtime cover.
Additionally, your system will be insured by Aviva against damage, fire, and theft.
Once all of these steps have been taken and your battery’s been connected to the mains and turned on, it can start charging straight away.
6. Emergency power supply (optional)
Emergency power supply (EPS) is a battery function that allows you to keep running your home on solar-generated electricity, even if the grid goes down.
Most solar & battery systems will instantly disconnect from the grid in a power cut, to ensure the panels don’t send electricity down the power lines and injure anyone working on them.
However, if you get an EPS-enabled battery and inverter, an electrician can change your property’s network to keep the lights on when the grid fails.
EPS requires a second fuse box, which is connected to one or more circuits. When a power cut hits, a relay will disconnect your home from the grid (manually or automatically, your choice), and these circuits will run on your battery’s electricity.
The electrician would also have to fit an earth spike – usually a metre-long copper rod – and run an earth cable to a grassy area.
Once they’re done, you’ll have to decide the minimum level of electricity you want to have in your battery at all times, in case of a power cut.
If you have crucial medical equipment or deal with regular, long-lasting blackouts, you may want to retain around 50% of your battery’s capacity. In this case, you should get a large battery, to make EPS useful and allow you to still export a sizable amount of electricity.
Households that don’t suffer frequent power cuts or urgently need to have an electricity supply at all times should usually stay away from EPS.
It can cost thousands of pounds, and isn’t worth it in most areas of the UK. The average household has to deal with 0.4 power cuts per year, and loses electricity for 35 minutes in total, according to Ofgem.
For more information, read our comprehensive guide to EPS for solar.
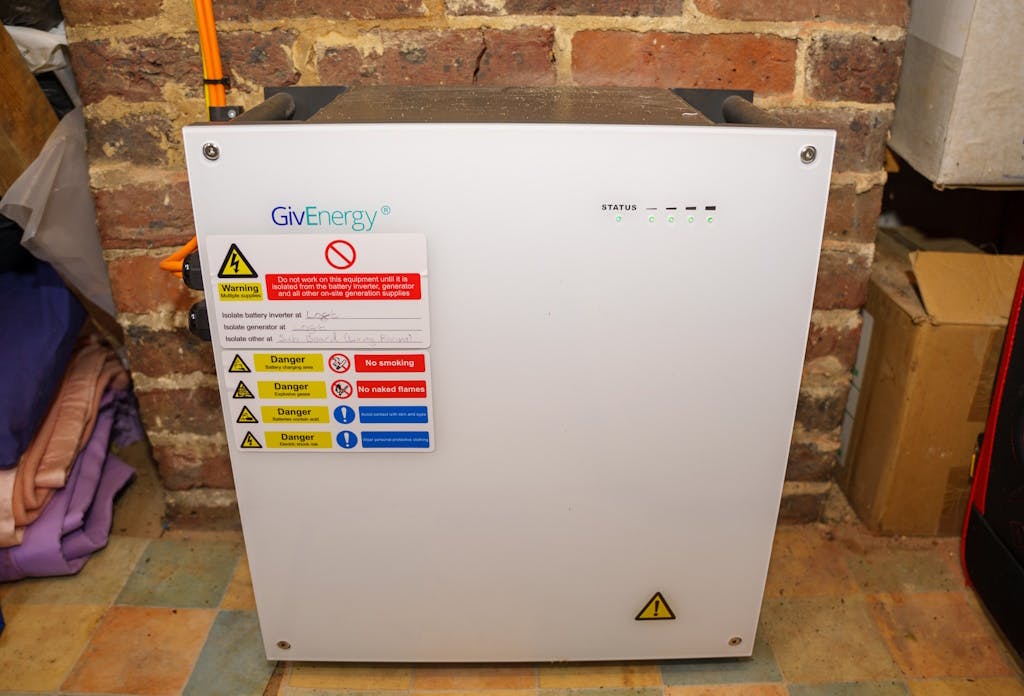
7. Shut-down procedures
Your installer will then provide you with instructions for the shut-down procedure, which allows engineers to carry out maintenance checks across the system’s lifespan.
They should also make sure you understand how to quickly shut off the machine in the unlikely event of an emergency.
In both cases, these steps should be simple, clearly laid out, and safe to perform.
Can you retrofit a battery to an existing solar panel system?
An installer can retrofit a battery to an existing solar panel system with relative ease, though it’ll cost more than getting one in the first place.
An engineer can fit an AC-coupled battery, which means buying a second inverter specifically for your battery. This is cheaper but less efficient, since your solar-generated electricity will have to go through more conversions.
They can also install a DC-coupled model that’ll mean replacing your current inverter, which will be more expensive, but result in increased savings.
Not only will retrofitting a battery cost more than getting one initially, you’ll also save less, since you won’t be able to replace as much grid electricity with your own solar supply.
Next steps
A solar battery installation shouldn’t have a major impact on your home’s appearance, your usable floor space, or your time – as long as you hire one of the best solar installers.
And once it’s done, you can store some of your solar-generated electricity, allowing you to use it later and sell any excess to the grid.
Having a battery also enables you to access a range of import and export tariffs that make up the best Smart Export Guarantee rates, potentially bringing your savings to a whole new level.
And getting one at the same time that you have solar panels installed can save you lots of money in labour costs.
If you’re wondering how much you could save with a solar & battery system, enter a few details below and we’ll generate a quick estimate.
Solar battery installation: FAQs
Written byJosh Jackman
Josh has written about the rapid rise of home solar for the past six years. His data-driven work has been featured in United Nations and World Health Organisation documents, as well as publications including The Eco Experts, Financial Times, The Independent, The Telegraph, The Times, and The Sun. Josh has also been interviewed as a renewables expert on BBC One’s Rip-Off Britain, ITV1’s Tonight show, and BBC Radio 4 and 5.